FANTASTiC August 25 2016 | 304 MB
英文简介:
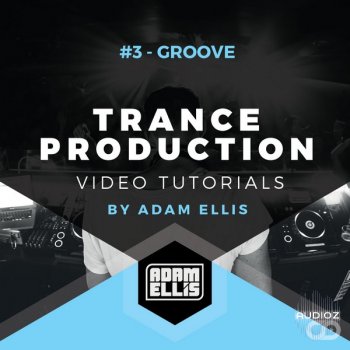
This is the third episode in a 12 part series of tutorial videos dedicated to Trance Music Production. This series will cover every aspect of music production (apart from Mastering) and will continually develop your skills when applied correctly.
Episode 3 starts off where the previous episode ended. We have our basic “starting template” done, as well as an overall structure and arrangement sections in place, and we now want to create our groove consisting of kick, drums, percussions, etc. What should we use ? Where should different elements go ? How to make it sound clean, energetic and professional at the same time ? In this episode, you’ll also find out how the work done in Episodes 1 and 2 (essentially preparing all the channels and busses) will prove extremely useful for building the actual groove.
WHO IS THIS TUTORIAL FOR ?
This tutorial is for artists who want to work faster and improve their sound at the same time. It’s aimed at Logic Pro X users, but the tricks you will learn can also be applied in other DAWs.
WHAT YOU WILL LEARN
In this 65 minute long video, Adam will show you :
How to put together a complete solid trance groove Using the kick drum as a basis for your groove elements to bounce off from Using sampler instances and your MIDI keyboard to build the drum lines Making correct use of claps, closed & open hats, rides, shakers, percussion & hits in your track Basic EQ and rules and settings for groove elements Making the groove elements progress throughout the arrangement How to use panning and stereo imager on the drum elements for larger sounding tracks Using delay & reverb, bitcrusher to make drum elements more interesting Using percussion loops to finish off your groove Chopping up percussion using audio Cleaning up your mix by cutting any unwanted frequencies Filtering in / out percussion elements to build the arrangementPACKAGE CONTENTS
– The video tutorial (65 minutes long , 1080p quality, in english)


评论0