FANTASTiC September 27 2016 | 451 MB
英文简介:
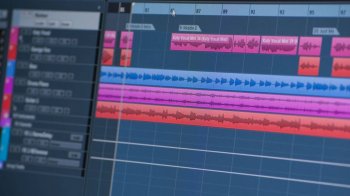
Our series of 14 step-by-step tutorial videos on the latest version of Steinberg’s entry-level DAW begins with an introduction to the Steinberg Hub and the specifics of how to set its visibility in the Preferences. Then, we get into Cubase Elements itself, analysing its project folder structure and starting a new project by adding a range of track types: MIDI, Audio, Instrument, etc.
With each track type controlled by its own array of Project settings, we show you how to view them in the Information Line and change them with the Project Set Up properties dialog, before discussing colouring of track types and introducing the Inspector.
Next, we move on to setting up input and output connections in order to record external sound sources and make our project heard. This includes working in the VST Connections dialog to organize input busses and create input/output presets, and adjusting audio interface-related settings in the Device Manager.
In the Media Bay, User Interface and Inspector chapters, we search for media assets and load a VSTi by choosing a preset; take a quick tour of the UI and its interactive elements, and get hands-on with the Inspector’s various panels.
The next three chapters cover Cubase Elements’ essential track functionality, including an overview of the Track Control settings dialog; the considerations that need to be made when importing clips and samples; and the process of recording and tidying up audio using Detect Silence, trimming and Fades. Following that, we put insert effects in the spotlight, focusing on adding that all-important reverb to dry recordings
Finally, we peruse the Transport Panel and get a bird’s eye view of the Mix Console, showing you how to get started mixing a project utilizing effects and EQ.


评论0